This guide walks you through configuring a static IP address for managed Windows or Unix devices using the Saner CVEM Endpoint Management module.
Steps to Set Static IP Address
1. Go to Endpoint Management > Actions
From the left panel in Saner CVEM, click on the Endpoint Management (EM) module.
Navigate to the Actions tab at the top.
2. Select Network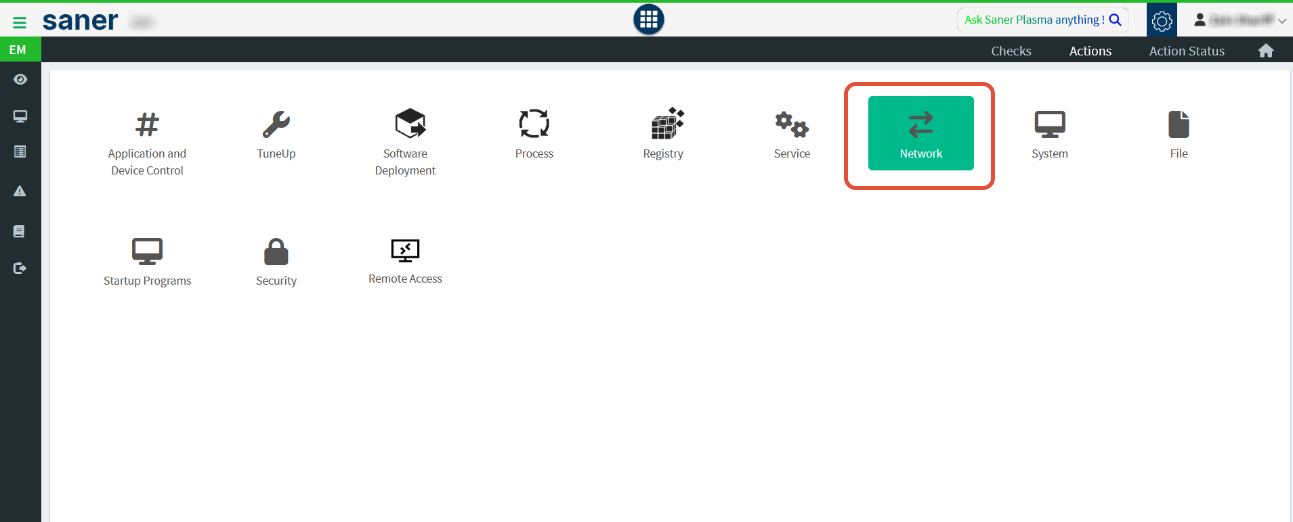
From the list of available action categories, click on Network.

3. Choose Your Target OS
In the Operating System Family dropdown, select either:
Windows
Unix
4. Select the Action: Set Static IP Address
From the Action dropdown, select:
Set Static IP Address
5. Fill Required Network Configuration Fields
Enter the following mandatory fields:
DNS Server 1
DNS Server 2 (optional but recommended)
Gateway
Network Interface Index
IP Address
Netmask
To find your network interface index on Windows, run
Get-NetAdapterin PowerShell.
On Unix, useip linkorifconfig.
6. Define the Response Details
Response Name:
SetStaticIPWindowsorSetStaticIPUnix(use something meaningful).Response Description: Example -
Assign static IP to Windows 10 devices in VLAN 20.
7. Select Target Devices
Under the Target section:
Choose specific groups or operating systems (e.g.,
Windows 10,Unix).You can search by tags or manually select devices/groups.
8. Choose Execution Frequency
Choose Immediate for one-time execution or schedule it:
Daily / Weekly / Monthly / Specific Date
9. Click Create Response
Finally, click Create Response to deploy the configuration.
The selected devices will now receive and apply the static IP settings as defined.
Outcome
Once executed, the response will configure the selected devices with the specified static IP details. You can verify execution status under Action Status in the Endpoint Management module.
Was this article helpful?
That’s Great!
Thank you for your feedback
Sorry! We couldn't be helpful
Thank you for your feedback
Feedback sent
We appreciate your effort and will try to fix the article